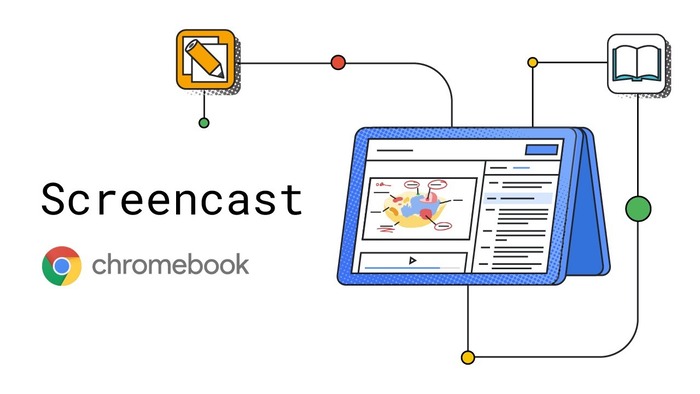
Casting or recording your Chromebook’s screen has become incredibly simple, thanks to Google’s integrated Screencast app, which comes pre-installed with ChromeOS version 103 and later.
Whether you’re a teacher creating tutorials, a student recording a lesson, or a remote worker explaining a task, you no longer need third-party software to record, annotate, or share your screen.
Everything can be done within the ChromeOS ecosystem itself.
This detailed manual walks you through how to cast your screen on a Chromebook, use annotation tools, edit transcripts, and share your videos efficiently with others. Let’s explore how to make the most of the Screencast app on your Chromebook.
Finding the Screencast App on Your Chromebook
Before diving in, you must ensure that your Chromebook is up-to-date and supports the Screencast tool.
How to Check for ChromeOS Updates:
| Action | Steps |
| Open ChromeOS Settings | Click the clock in the bottom-right corner → Tap the gear icon. |
| Go to Updates | In the left-hand menu, select About ChromeOS. |
| Check for Updates | Click Check for updates and allow any updates to download/install. |
Once updated, you’ll be able to locate the Screencast app directly in your app launcher.
How to Open Screencast:
- Press the Search key on your keyboard or tap the Launcher icon.
- Type Screencast in the search bar.
- Click the app when it appears.
No downloads or extensions are required. Screencast is now a standard feature of ChromeOS, making it incredibly accessible.
How to Start a Screencast on Chromebook

After opening the Screencast app, follow these steps to record your screen:
- Click on the “New screencast” button in the top-left corner.
- ChromeOS will launch the screen recording interface.
- Choose how you want to record:
- Full screen
- A specific window
- A partial region of the screen
- Full screen
Configure Your Settings:
Before you hit record, tap the gear icon (⚙) to adjust the following options:
- Microphone: Enable or disable voice recording.
- Webcam: Decide whether you want your webcam feed (in a small circular overlay).
- Save location: Screencasts are automatically saved to your Google Drive, not local storage.
Note: Chromebook’s Screencast app does not support system audio. It only captures audio from your microphone.
Once you’re ready:
- Click the Record button.
- A 3-second countdown will appear on your screen.
- Your recording begins once the countdown ends.
To stop recording, click the stop icon on the bottom-right dock.
Using the Marker Tool During Your Screencast
One of the most useful features during a screen recording is the ability to annotate with the marker tool.
This is helpful for presentations, tutorials, and step-by-step guides.
How to Draw on the Screen:
| Action | Instruction |
| Enable Drawing Tool | Click the pen icon near the stop button during recording. |
| Start Drawing | Use your trackpad or mouse to draw or highlight key areas. |
| Change Colors | Right-click (or long-press) the pen tool to select a different color. |
| Turn Off Drawing | Click the pen icon again to disable annotations. |
All your drawings will appear in the final video, adding clarity and visual emphasis.
Automatically Generated Transcripts
The Screencast app goes beyond simple screen recording—it creates real-time transcriptions of your spoken words. These transcripts appear beside the video playback screen.
What Makes This Useful?
- Transcripts help viewers understand the content better.
- They make your videos more accessible.
- They allow viewers to skip directly to a specific section of the video.
Editing Transcripts:
- Open a completed screencast.
- You’ll see the transcript on the right side.
- Click the three-dot icon next to any text block.
- Select “Edit text” to make changes.
- After editing, click Save.
- You can also remove parts by selecting “Skip section.”
These edits help keep your videos accurate, especially if the automatic transcription made any errors.
Where Recordings Are Stored
Once the screencast is complete:
- The video is automatically uploaded to your Google Drive.
- It does not consume your local Chromebook storage.
- Each video gets its own link, making sharing seamless.
To find your recordings:
- Open the Screencast app.
- You’ll see a list of all your saved screencasts.
- Click on any recording to preview or manage it.
How to Share Your Screencasts
The Screencast app is built with ChromeOS collaboration in mind. Sharing your recordings is simple and doesn’t require downloading or uploading files manually.
Steps to Share a Screencast Video:
| Step | What to Do |
| Open Screencast App | Launch the app from your app drawer. |
| Find a Recording | Choose the video you want to share. |
| Click Menu | Tap the three-dot icon beside the recording name. |
| Tap Share | Or click Share directly from the playback page. |
| Give Your Screencast a Name | You’ll be prompted to name the file before sharing. |
| Choose Access Settings | You can keep it private or select “Share with others.” |
| Copy Shareable Link | Tap Copy link and send it to your audience. |
Screencasts can only be viewed on a Chromebook with ChromeOS 103 or newer. Windows or macOS users will not be able to open them.
This setup ensures a secure, Chromebook-native viewing experience and promotes easy collaboration within the ChromeOS ecosystem.
Tips for Using Screencast Effectively
Here are a few extra tips to make your screen recordings even better:
- Test Your Mic and Camera Beforehand: Open the app and start a quick trial recording to make sure everything works smoothly.
- Close Unnecessary Tabs: This reduces lag and distractions in your video.
- Use the Marker Tool Wisely: Don’t overuse it—highlight only the important sections.
- Keep it Organized: Give your screencasts clear names and descriptions for easy retrieval later.
Why Screencast is Perfect for Chromebook Users

Here are the main reasons why the Screencast tool on Chromebook stands out:
- No Installation Needed: It comes pre-installed with ChromeOS 103+.
- Simple Interface: Beginner-friendly and easy to use.
- Webcam Overlay: Adds a personal touch, perfect for instructional videos.
- Live Transcription: Automatically provides captions with editing support.
- Cloud Storage: Saves to Google Drive, freeing up your device’s memory.
- Easy Sharing: Just one link and you’re done.
This tool is ideal for:
- Teachers explaining lessons or instructions remotely.
- Students recording presentations or group discussions.
- Remote workers creating walk-throughs or project updates.
Conclusion
Learning how to cast screen on Chromebook using the Screencast app is both straightforward and rewarding.
With its built-in features like screen capture, webcam overlay, real-time transcription, drawing tools, and cloud sharing, this ChromeOS feature eliminates the need for external apps or extensions.
Whether you’re making tutorials, giving a lecture, or sharing ideas with a team, Screencast ensures everything is captured clearly and shared effortlessly.
All you need is a Chromebook running the latest OS, and you’re ready to go.
Start exploring Screencast today, and transform how you communicate with your Chromebook.

