Need a quick way to move videos to your Chromebook from your iPhone? Apple and Google don’t exactly make it easy, but there are solid workarounds.
And that’s exactly what we’ll show you here. This guide breaks down the easiest ways to send, upload, or transfer your videos, without the headaches or wasted time. Let’s finally get your iPhone and Chromebook to play nice.
What You Need to Know Before You Start?
Before we get into the how-to, let’s clear up a couple things that’ll save you time (and maybe a bit of your sanity). If you check the official Apple Support forum, you’ll find plenty of people asking the same thing: “Why can’t I move files from my iPhone to my Chromebook?” You’re definitely not alone in this.
- First off: your iPhone and Chromebook don’t speak the same language. There’s no AirDrop. No native iTunes support. Plug your iPhone into a Chromebook, and sometimes… nothing happens. Other times, it shows up, but you only get access to the camera roll, and even that can be hit or miss depending on your settings and cable.
- Also, most iPhone videos are in .MOV or .HEVC formats. Chromebooks can usually handle those, but if yours is running an older version of ChromeOS or a budget processor, playback might be choppy. In short: the file might open, but it might not work the way you expect.
So yeah, there’s a bit of friction here. But once you know the quirks, the actual process isn’t that bad. Let’s start with the methods.
Method 1: Use a USB Cable to Transfer Videos from iPhone to Chromebook
Let’s kick things off with the most old-school method: a cable. Yep, the same Lightning-to-USB cable you use to charge your iPhone can also move videos over to your Chromebook (if things cooperate).
- First, grab your cable and plug your iPhone into your Chromebook.
- Now here’s the part where most people get tripped up: your iPhone needs to be unlocked, and you’ll probably see a little popup asking if you trust this computer. Hit Trust or Allow and enter your passcode if needed. If you skip this step, your Chromebook will act like your iPhone’s not even there.
- Once that’s done, open the Files app on your Chromebook.
- On the left side, under “Devices,” you should see something like “Apple iPhone” or “DCIM.” Click into that, and you’ll get access to your iPhone’s camera roll, basically, the Photos and Videos you’ve shot with your iPhone camera.
Here’s where it gets a little clunky: the folder names inside DCIM usually look like gibberish (think: “100APPLE,” “101CLOUD”), so you’ll need to poke around a bit. But once you find the video(s) you’re after, you can drag and drop them straight onto your Chromebook.
Done.
Now, if you’re doing this to make room on your iPhone, smart move, it’s one of the quickest ways (though not the only) to free up overloaded iPhone storage.
Once the videos are safely on your Chromebook, you can delete them from your phone and instantly feel the difference. Videos usually take up the most space, so clearing out a few can give you a surprising amount of free storage.
Just a heads-up though: this method only lets you access locally saved camera roll videos. Anything stored in iCloud won’t show up unless you’ve already downloaded it to your iPhone. So if you don’t see a video you thought was there, open your iPhone Photos app and make sure it’s fully loaded first.
Oh, and one more thing: some newer Chromebooks or cheap models don’t always play nice with iPhones over USB. If yours doesn’t recognize the iPhone no matter what you try, skip down to one of the wireless options instead.
Method 2: Upload Videos from iPhone to Chromebook Using Google Drive
Not a fan of cables? No problem. If you’d rather keep things wireless, Google’s cloud tools have your back. And honestly, it makes total sense. You’re on a Chromebook, so sticking with Google services keeps everything simple and connected.
A lot of Chromebook users actually prefer this route (you’ll see whole threads about it on Reddit), and between Google Drive and Google Photos, you’ve got two solid ways to send videos from your iPhone to your Chromebook without ever plugging anything in.
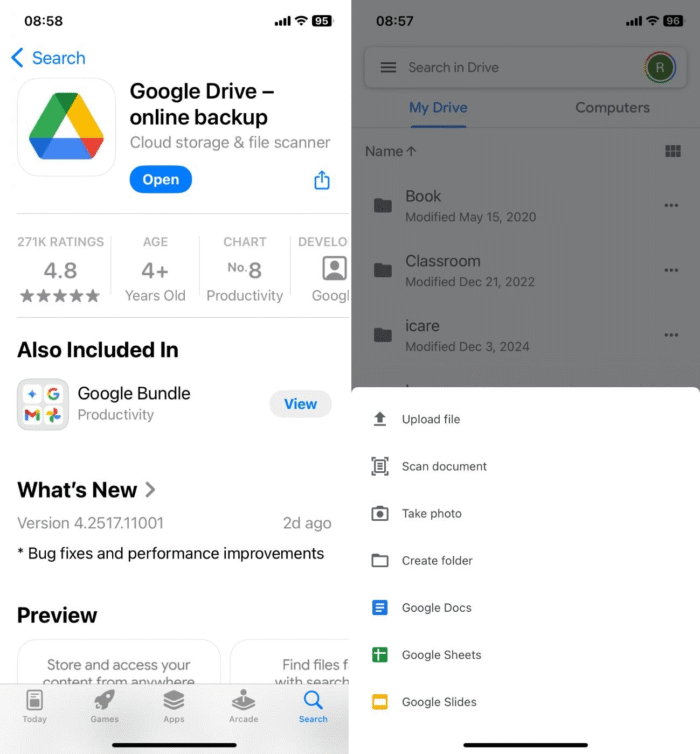
Let’s start with Google Drive.
- Open the app on your iPhone (or download it if it’s not already lurking in a folder somewhere).
- Tap the + button, hit Upload, then select Photos and Videos.
- Pick the clips you want to move, and off they go into the cloud. Once they’re uploaded, switch over to your Chromebook, head to drive.google.com, and they’re waiting for you.
- Download them, move them around, do whatever you need.
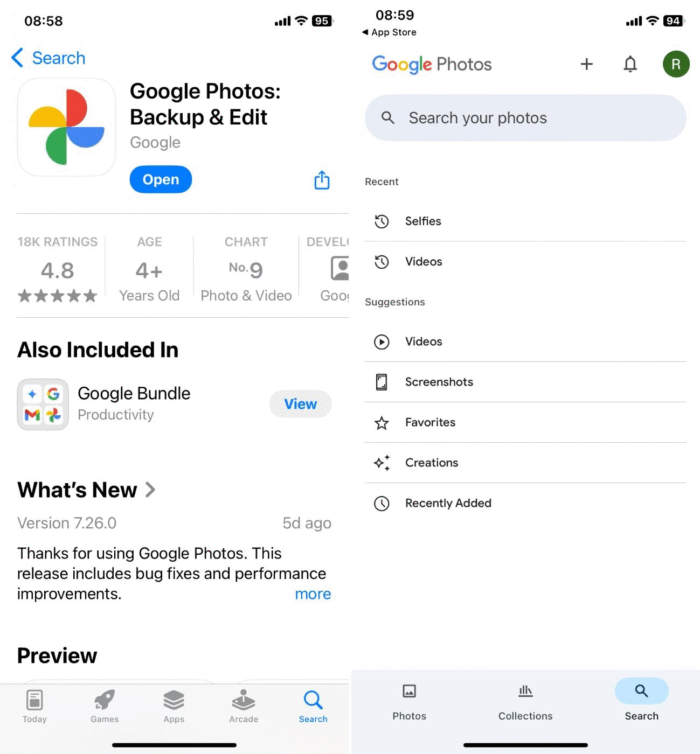
Now, if you’re dealing with a bunch of videos or want something a bit more hands-off, Google Photos is the better pick.
- Open the app on your iPhone and make sure Backup & Sync is turned on.
- It’ll automatically upload your videos in the background.
- You don’t have to do anything after that, just wait a bit, then hop onto photos.google.com on your Chromebook.
- From there, you can view, download, or even edit the videos directly in your browser.
So what’s the catch? Well, cloud storage isn’t infinite (unless you’re paying for it). Google gives you 15 GB of free space to share between Drive, Photos, Gmail, and everything else tied to your account. That sounds decent, but let’s be real: a couple of HD/4K videos can eat that up in no time.
That’s why you’ll definitely want to clear out unnecessary videos before you start uploading anything. You’ll want to start with the biggest ones, but here’s the annoying part: Google Photos doesn’t let you sort by file size, so there’s no easy way to find the biggest space hogs. You’re stuck scrolling and guessing, which gets old fast.
This is where third-party apps, so-called iPhone cleaners, can save you a lot of time. Some of them can show you your largest videos first, so you can delete what you don’t need before wasting time (and cloud space) on uploads.
Others go even further, using AI to spot duplicate clips or images, suggest which similar ones to keep or cut, and even surface stuff you haven’t watched in forever. It’s pretty slick. There’s a whole lineup of free apps designed for this kind of smart media cleanup.
Once you’ve done with cleanup, the rest is smooth sailing. Whether you go with Drive or Photos, this method is clean, reliable, and great for anyone already deep into the Google ecosystem.
That said, fair warning: it’s not the fastest option for big files, so if you’re working with long 4K videos, be ready to wait a bit. Patience (and strong Wi-Fi) helps.
Method 3: Use Local Sharing Services to Wirelessly Transfer Videos
This one’s also wireless. There are online services out there that let you send files directly over your local network. One of the more popular ones used to be Snapdrop. We used it quite a bit, but lately it’s been unreliable (or just totally dead, depending on the day).
Still, the idea behind it is solid. There’s a whole category of tools built to mimic AirDrop, without locking you into Apple’s ecosystem.
These apps work over your Wi-Fi, don’t need internet access, and let you send videos straight from your iPhone to your Chromebook.
Quick and private.
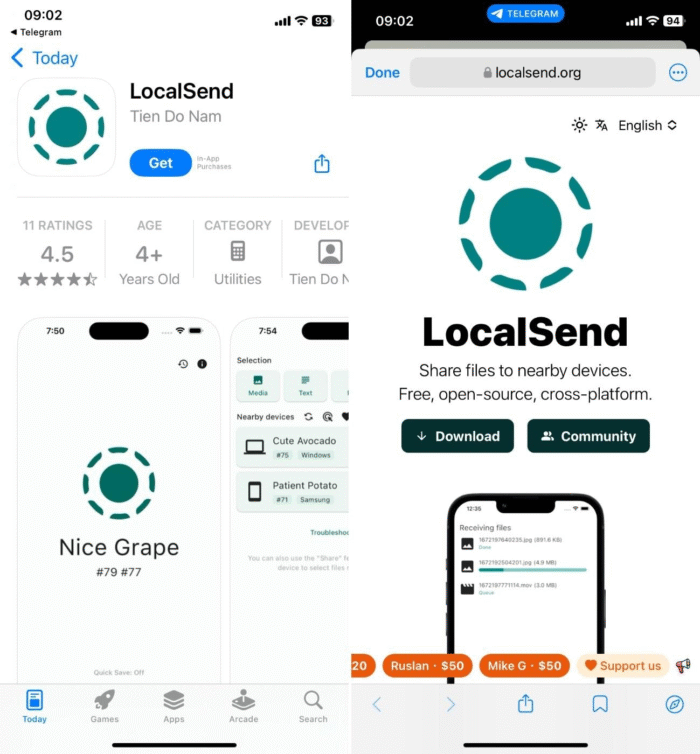
One of the better options right now is LocalSend.
- It’s free, open-source, and cross-platform, so it works on iPhone, Android, Windows, macOS, Linux, and yes, Chromebooks too (you can use the Android app or sideload it as needed).
- No logins, no accounts, and no ads. You install the app on both devices, make sure they’re on the same Wi-Fi network, and they’ll find each other automatically.
- No central server needed, everything is peer-to-peer, and the whole transfer is end-to-end encrypted.
The process is dead simple. Here’s how to get videos from iPhone to Chromebook using one of these local sharing apps:
- Install the app (like LocalSend) on both your iPhone and your Chromebook.
- Connect both devices to the same Wi-Fi network. This part’s important.
- Open the app on both devices. They should recognize each other automatically.
- On your iPhone, choose the video you want to send and select your Chromebook as the destination.
- On your Chromebook, accept the transfer and choose where to save the file.
That’s it. Just a quick, direct transfer, exactly how it should be.
There are plenty of open-source projects out there like LocalSend that offer the same peer-to-peer file transfer magic. If you like the idea of staying off the cloud and keeping your data local, this whole space is worth checking out.
Communities like r/selfhosted have ongoing discussions around these tools. Different people suggest different alternatives: PairDrop, Landrop, FlyingCarpet, you name it, but the general idea behind all of them is the same: quick, local file sharing with no cloud, no signup. You pick the one that fits your setup best, and you’re good to go.
Final Words
Of course, there are plenty of other little workarounds, like emailing yourself the video (if it’s small enough), saving a bookmark on iPhone for easy access later, or using Telegram or WhatsApp Web to send it to yourself and download it on your Chromebook. That stuff can work in a pinch.
But honestly? The three methods we covered here are way easier, way more reliable, and they’ll work for 99% of situations. Whether you go with a cable, the cloud, or a local sharing app, you’re set.
If you found this helpful, feel free to use the buttons below to share it on Facebook, X (Twitter), or wherever you hang out online. Chances are, someone else is dealing with the same iPhone-to-Chromebook headache, and this might save them a ton of time.