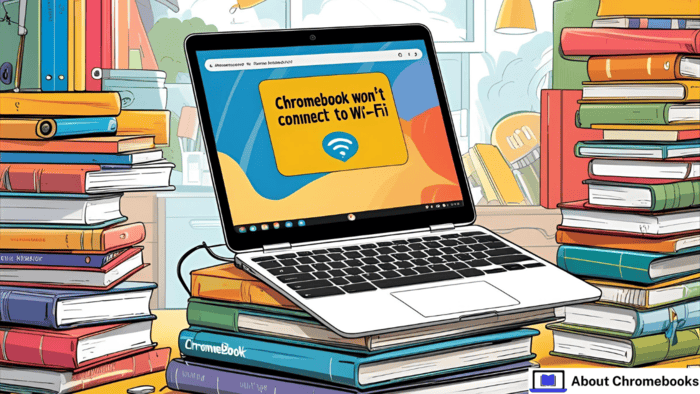
When your Chromebook won’t connect to WiFi, it can be frustrating, especially if you’re in the middle of important work or school tasks.
This issue may come in different forms — the device not finding any available networks, failing to connect despite the network being visible, or being connected without actual internet access.
Regardless of your Chromebook’s brand — Acer, Lenovo, HP, Samsung, or any other — the steps to solve the problem remain largely the same.
This manual will help you figure out what’s wrong and walk you through solutions using simple, clear steps. No advanced tech knowledge is required.
Ways to Solve Chromebook WiFi Problems
Follow these methods one at a time. After each test to see if the issue is resolved.
1. Look for a Manual WiFi Button
Some Chromebooks come with a built-in switch that turns the WiFi signal on or off. These are often placed on the side or front edge of the laptop.
If your Chromebook won’t connect to WiFi, make sure this switch hasn’t been turned off by mistake.
2. Make Sure WiFi is On in Settings
Even without a physical switch, WiFi can be turned off in the system settings. Click the time on the bottom right of your screen, then go to the network options.
Make sure the wireless setting is toggled on. A grayed-out WiFi symbol usually means it’s off.
3. Disconnect and Reconnect to the Network
Sometimes, simply removing and rejoining the network can fix the issue. If your Chromebook shows that it’s connected, but there’s still no internet:
- Go to network settings.
- Click the network you’re connected to.
- Select Disconnect or Forget.
- Then, reconnect by entering the password again.
This refreshes the connection and can help when something is stuck or outdated.
Basic Troubleshooting Overview
| Step | Description |
| Hardware Toggle | Check the physical switch on the device |
| System Settings | Enable wireless under network settings |
| Reconnect to the Network | Forget and rejoin WiFi manually |
| Chrome OS Update | Get the latest version for bug fixes |
| Restart Devices | Power cycle both the Chromebook and the router |
4. Update Chrome OS to the Latest Version
Outdated software might be the reason your Chromebook won’t connect to WiFi.
Keeping Chrome OS current ensures compatibility with the latest routers and security protocols.
- Open the Settings menu.
- Scroll to About Chrome OS.
- Select Check for Updates.
- If any updates are found, install them and restart your Chromebook.
5. Restart Both the Router and Chromebook
Sometimes the issue lies in the connection between the devices. First, turn off your router completely.
Then, restart your Chromebook by holding the Power key and selecting Shut Down. Wait a few seconds, turn both devices back on, and attempt to reconnect.
6. Remove Old Saved Networks
If you’ve connected to multiple WiFi networks before, your Chromebook may be trying to join the wrong one first. Clear out unwanted saved networks:
- Open network settings.
- Click Known Networks or Preferred Networks.
- Remove any that are no longer used.
- Reconnect to your current WiFi.
Additional Connectivity Options
| Option | Use Case |
| Chrome Diagnostic Tool | To detect connection issues automatically |
| USB WiFi Adapter | To bypass the built-in wireless module |
| Ethernet Cable | To test if connection works via a wired setup |
| Factory Reset | Last option when all else fails |
7. Run Chrome Connectivity Diagnostics
Install Chrome Connectivity Diagnostics from the Chrome Web Store. It runs a test and tells you if something is blocking your connection.
This tool checks everything from DNS to local access points and gives you quick suggestions.
8. Do a Hard Reboot of Your Chromebook
A hardware-level restart can clear minor glitches. Hold the Refresh button and the Power key together. Release Refresh once the device begins restarting.
Be aware: Any files saved locally on the Chromebook may be deleted, so upload anything important to Google Drive first.
9. Use an External USB WiFi Adapter
If you’ve tried all of the above and your Chromebook won’t connect to WiFi, there could be a problem with the internal wireless hardware.
Plug in a USB WiFi dongle and try to connect. If this works, the issue is likely inside the device.
10. Connect via Ethernet Cable
If your Chromebook has an Ethernet port or you have an adapter, try plugging directly into your modem or router.
This test helps you figure out whether the WiFi card is faulty or if it’s a software problem.
11. Reset Your Chromebook (Powerwash)
If no other method works, go to system settings and perform a Powerwash. This resets the Chromebook to its factory condition.
It clears out bugs and system conflicts, but also deletes everything stored locally.
- Back up important files first.
- Go to Settings > Advanced > Reset Settings.
- Select Powerwash and follow the prompts.
Reach Out for Manufacturer Support
If your device is under warranty, contact customer support. Many brands offer free repairs or replacements.
If it’s out of warranty, you might want to compare repair costs to the price of getting a new Chromebook.
What Might Be Causing the Issue?
There are a few common reasons a Chromebook won’t connect to WiFi:
- Wireless setting turned off.
- Problems communicating with the router.
- Old or conflicting saved networks.
- Hardware failure inside the Chromebook.
Before troubleshooting, always test other devices. If no phone, tablet, or laptop connects either, the router or internet service is likely the problem, not the Chromebook.
FAQ
Can I view WiFi passwords on my Chromebook?
Only by enabling Developer Mode. Also, this shows passwords only for the current network.
How do I connect to WiFi manually?
Click the WiFi icon > choose a network > enter the password > hit Connect.
How to auto-connect to WiFi?
After connecting manually, select the option to automatically connect under network settings.
Why does the WiFi keep disconnecting?
Weak signals or too many devices on the network may be the reason. Try switching to Ethernet or improving router placement.
When your Chromebook won’t connect to WiFi, the right steps can help you fix it fast. Follow this guide carefully, and you’ll likely be back online in no time.