Taking a passport photo used to mean going to a studio or struggling with complicated editing tools. That’s no longer necessary. With a phone camera and a browser, you can create a compliant passport photo at home in just a few minutes – no software required.
This approach works especially well on Chromebooks and other lightweight devices where installing programs isn’t practical.
Why Skip Installing Software?
If you’ve ever tried using traditional photo editors for passport images, you’ll know they’re often overkill. You don’t need layers, filters, or manual cropping tools just to meet a strict size requirement.
Browser-based tools handle the technical parts automatically, which is exactly what makes them a better fit.
What You’ll Need Before You Start
You don’t need much, but a few small details make a big difference:
- A phone or laptop camera (phones usually work better)
- A plain white wall or light-colored background
- Good lighting-natural light from a window is ideal
- A steady hand or somewhere to prop your device
One common mistake is standing too close to the wall. That usually creates shadows, which can cause the photo to be rejected.
Step 1: Take a Clean, Usable Photo
You don’t need a perfect photo-just a clear one that follows the basic rules:
- Look straight at the camera
- Keep a neutral expression (no smiling)
- Make sure your face is fully visible
- Avoid strong shadows or uneven lighting
If possible, have someone else take the photo. It’s much easier than trying to line everything up yourself.
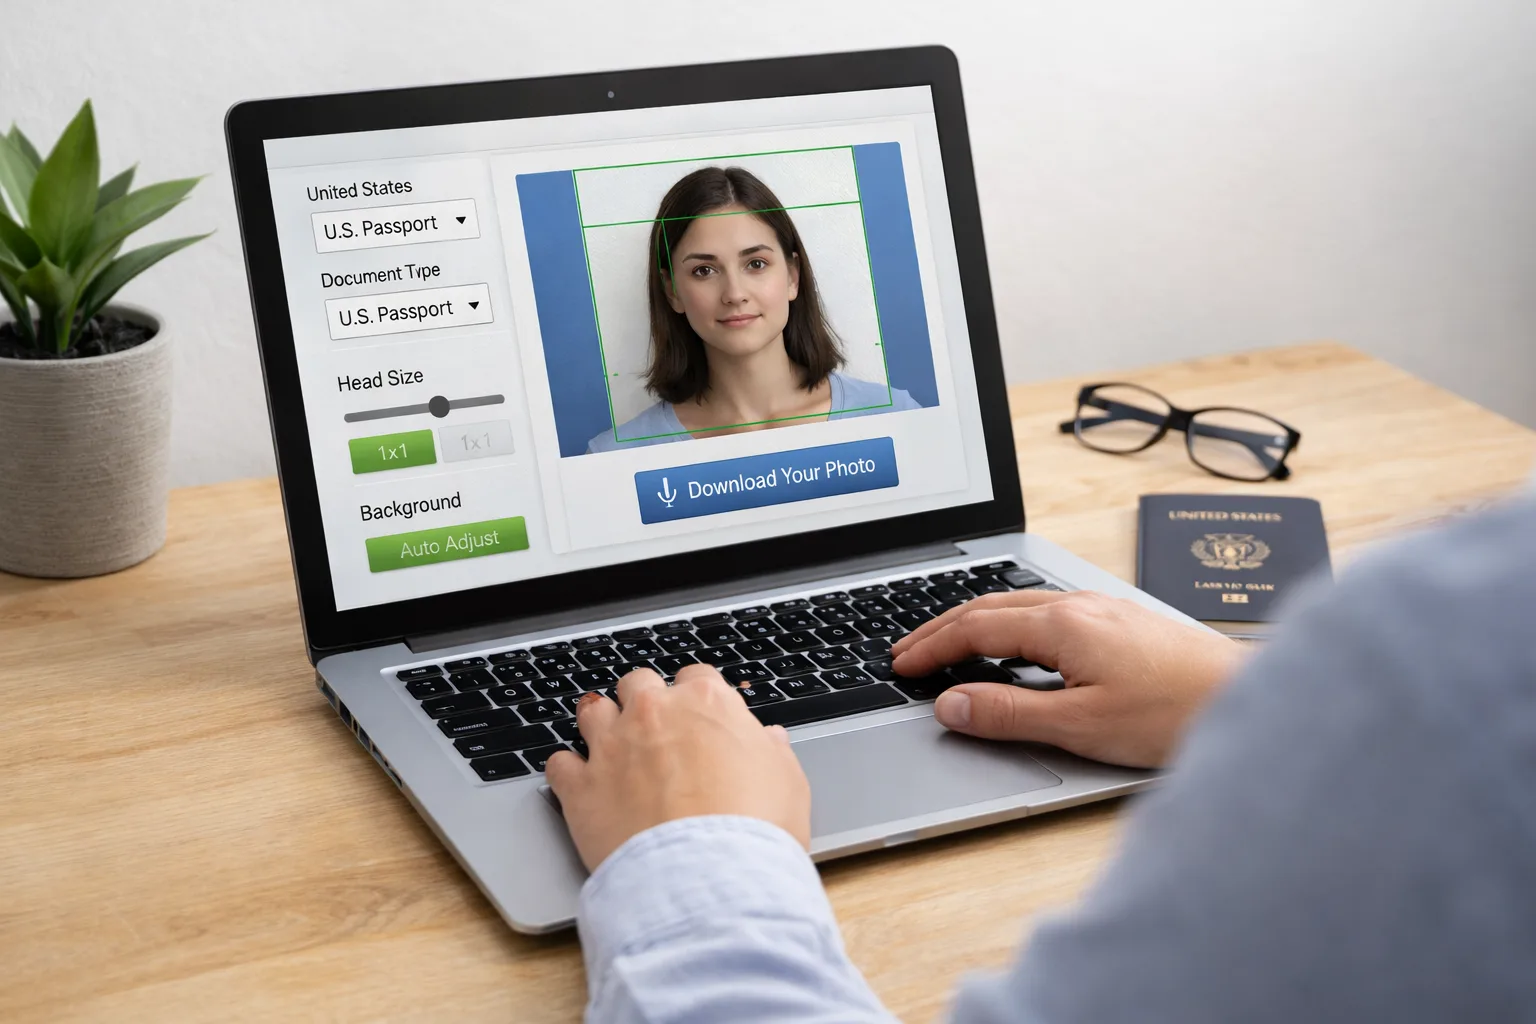
Step 2: Upload the Photo to an Online Tool
Once you have your photo, the easiest way to format it is by using an online service.
A tool like 123passportphoto.com can automatically:
- Resize your image to match passport requirements
- Adjust spacing and head position
- Clean up or standardize the background
- Format the photo based on your country
This saves you from guessing dimensions or trying to crop everything manually.
Step 3: Check the Details (This Part Matters)
Even when a tool does most of the work, it’s worth double-checking:
- Is your mouth closed?
- Does the background look clean and even?
- Is the image sharp enough?
A quick review here can save you from having to redo the whole process later.
Step 4: Download and Use Your Photo
After confirming everything looks right:
- Download the final image
- Save it to your device or Google Drive
From there, you can:
- Upload it directly to an online application
- Or print it if a physical copy is required
Step 5: Printing (If You Actually Need It)
Not everyone needs printed photos anymore, but if you do:
- Use photo paper for better quality
- Print a template with multiple copies
- Cut carefully to size
If you don’t have a printer, a local print shop can handle it in minutes.
Common Issues People Run Into
A few problems come up repeatedly:
- Shadows behind the head
- Background that isn’t fully plain
- Face positioned too high or too low
- Low-quality or blurry images
Most of these are easy to fix with better lighting or by retaking the photo.
Why This Method Works So Well
The main advantage is simplicity. You’re replacing a complicated process with something much more direct:
- No installation
- No learning curve
- Works on any device with a browser
- Takes just a few minutes from start to finish
FAQs
Can I really take a passport photo without software?
Yes. As long as you have a decent photo and an online passport photo tool to format it, you don’t need any installed programs.
Is a phone camera good enough?
In most cases, yes. Modern smartphones usually produce better results than laptop webcams.
Can I do this on a Chromebook?
Yes. Since everything runs in the browser, Chromebooks handle this process easily.
Do online tools meet official requirements?
They can, as long as you choose a tool that supports country-specific formats and you follow basic photo guidelines.
Final Thoughts
If you haven’t tried this before, it might feel a bit unconventional, but it works. Taking a passport photo at home without installing software is not only possible, it’s often faster than going to a studio.
With a simple setup, decent lighting, and a browser-based tool, you can get a compliant photo ready in minutes.