Splitting your Chromebook screen into two windows is a useful tool for multitasking, whether you’re working with documents, using touchscreen controls, or viewing tutorials side by side. This setup is ideal for tasks like research, viewing tutorials, or comparing images and videos.
Chromebook’s split-screen feature makes it quick and easy to set up or undo. Here’s a guide on how to use this function.
How Do You Set Up Split Screen Using Drag-and-Drop?

Position Your First Window
Start by opening the window you want on one side of the screen, like a browser tab. In the top-right corner, locate the Window icon, which can appear as a two-window “restore down” icon (if maximized) or a single-window “maximize” button (if minimized).
Click and hold this icon, then drag the window to one side of the screen until it snaps into place, showing a temporary divider line.
Add the Second Window
Open a second window that you want to place on the opposite side.
Again, select and hold the Restore down/Maximize icon in the top-right corner, then drag the window to the other side of the screen. Release it once it snaps into place.
How Do You Exit Split-Screen Mode?
When you’re finished with split-screen mode, click the Maximize button on each window to return them to full-screen.
What Are the Keyboard Shortcuts for Splitting Your Screen?
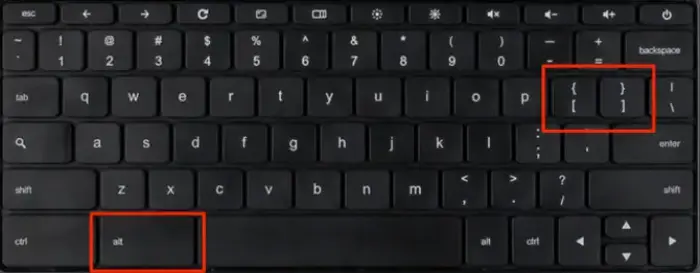
For a faster way to split the screen, you can use keyboard shortcuts. Select a window and press Alt + [ to snap it to the left or Alt + ] to snap it to the right.
This method is especially useful if you frequently switch between single and split-screen views. And if you’re multitasking between windows and need to quickly take a screen capture of a full webpage, there are built-in tools that make it easy on a Chromebook.