Setting up your own Chromebook for your kid’s remote school learning doesn’t require buying new hardware. Chrome OS supports multiple user accounts with built-in security that keeps each user’s data separate and protected.
Parents can control their child’s Chromebook usage through Family Link, managing screen time, app permissions, and website access. This setup takes about 10 minutes and provides a secure learning environment.
The process involves adding your child’s Google account and optionally enabling parental controls. Your data stays protected while your child accesses educational resources safely.
How To set up your chromebook for kids remote school learning covid19 coronavirus?
Follow these steps to create a secure account for your child on your Chromebook.
Sign out and access the login screen
Sign out of your Chromebook completely. You’ll see your login screen with an “Add person” option at the bottom.
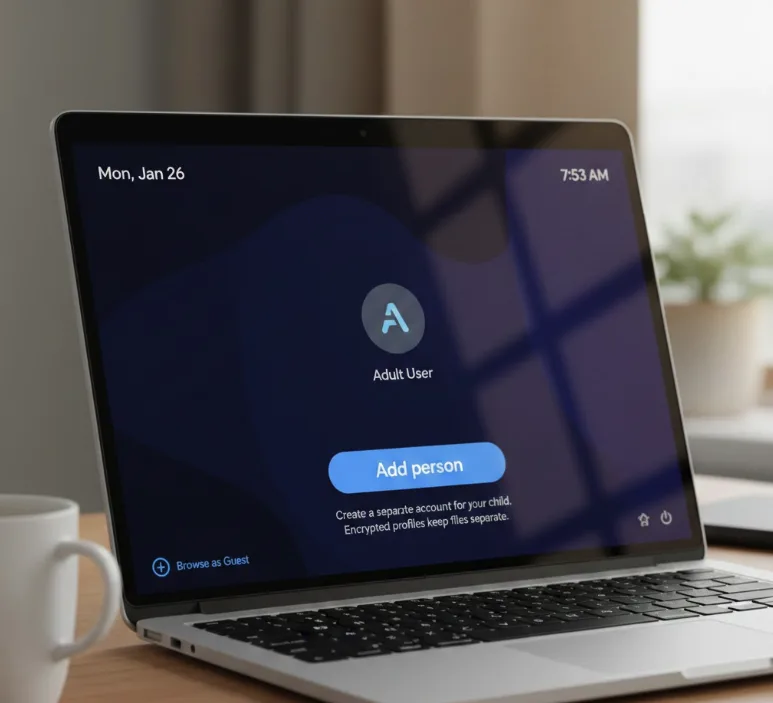
Click “Add person” to begin creating the second account. This allocates separate storage space for your child’s account. Chrome OS supports multiple user accounts just like macOS and Windows, with encrypted profiles that keep users’ files completely separate.
Create or sign in with your child’s Google account
Your child needs to sign in as if it’s their own device. If they don’t have a Google account, create one during this step.
They’ll accept the standard Chrome and Google Play Store terms of service. At this point, they can start using the Chromebook.
Enable parental controls through Family Link (optional)
Click the Settings icon while your child is signed in. Navigate to the People section and find Parental Controls.
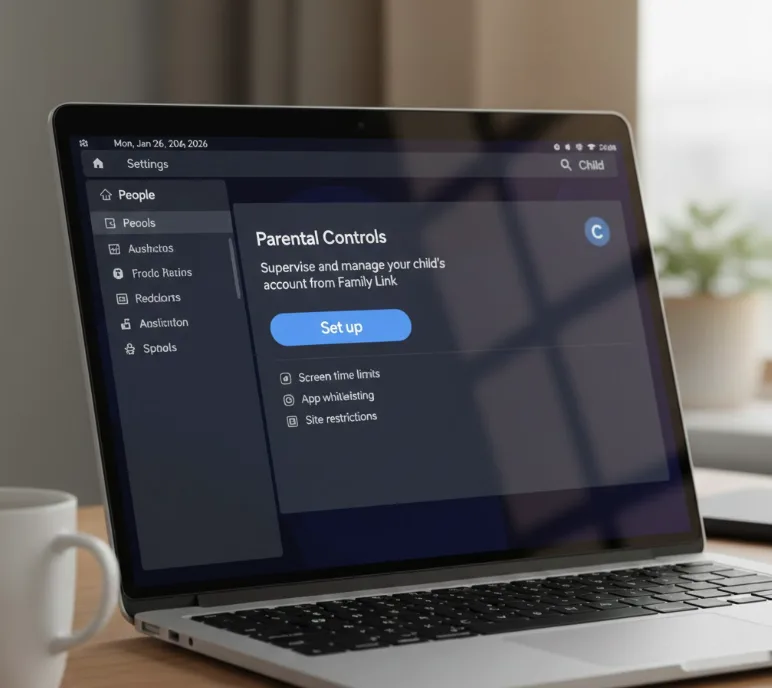
Click the “Set up” button to access Family Link. You’ll see an overview of manageable features. Family Link offers comprehensive parental controls including screen time limits, app whitelisting, and site restrictions.
Complete the Family Link setup process
Click “Get Started” on the Family Link welcome page. Sign in with your own Google account when prompted.
You’ll see options to manage apps, screen time, and data tracking. Select your preferences for supervision.
Confirm supervision on the child’s account
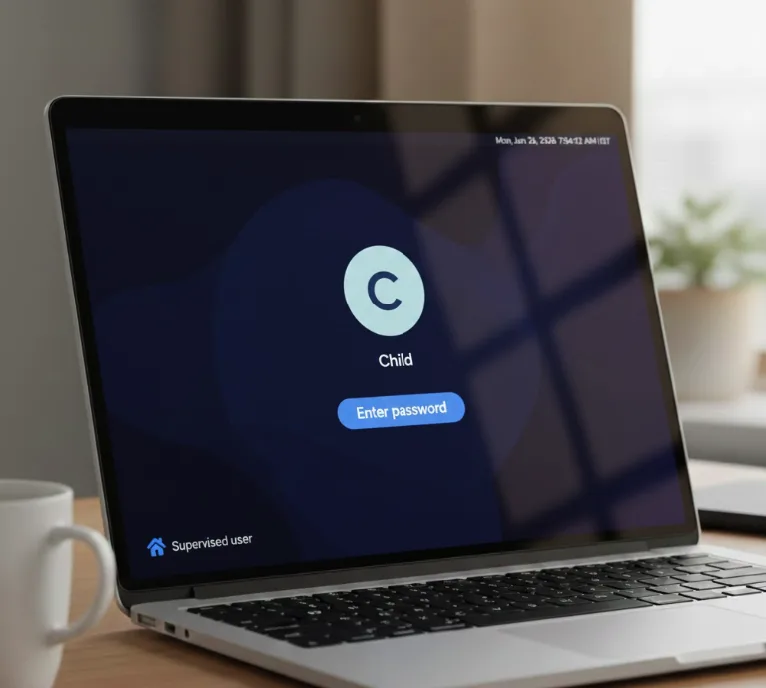
Your child must enter their password to acknowledge supervision. This completes the Family Link setup.
They need to log out and back in for supervision to activate. A “Supervised user” label will appear at the bottom left of their screen.
You can modify settings anytime through the Family Link mobile app on Android or iOS. Children 13 or older can disable supervision, but you’ll receive a notification if this happens.
For a simpler alternative without parental controls, you can enable Guest Mode, which allows temporary access while keeping your data safe and wiping all session information after logout.
FAQs
Can I use my Chromebook for my child without buying a new one?
Yes, Chrome OS supports multiple user accounts with separate storage and security, allowing your child to use your existing Chromebook safely.
What’s the difference between Guest Mode and adding a child’s account?
Guest Mode deletes all data after logout, while a child’s account saves their work and settings permanently on the device.
Do I need the Family Link app on my phone?
The app is optional for initial setup but recommended for remotely managing parental controls and adjusting settings from your mobile device.
Can my teenager disable parental supervision on their Chromebook?
Children 13 or older can disable supervision, but you’ll receive an immediate notification when they attempt to remove these controls.
How long does it take to set up a Chromebook for remote learning?
The complete setup process takes approximately 10 minutes, including creating the account and configuring Family Link parental controls.